
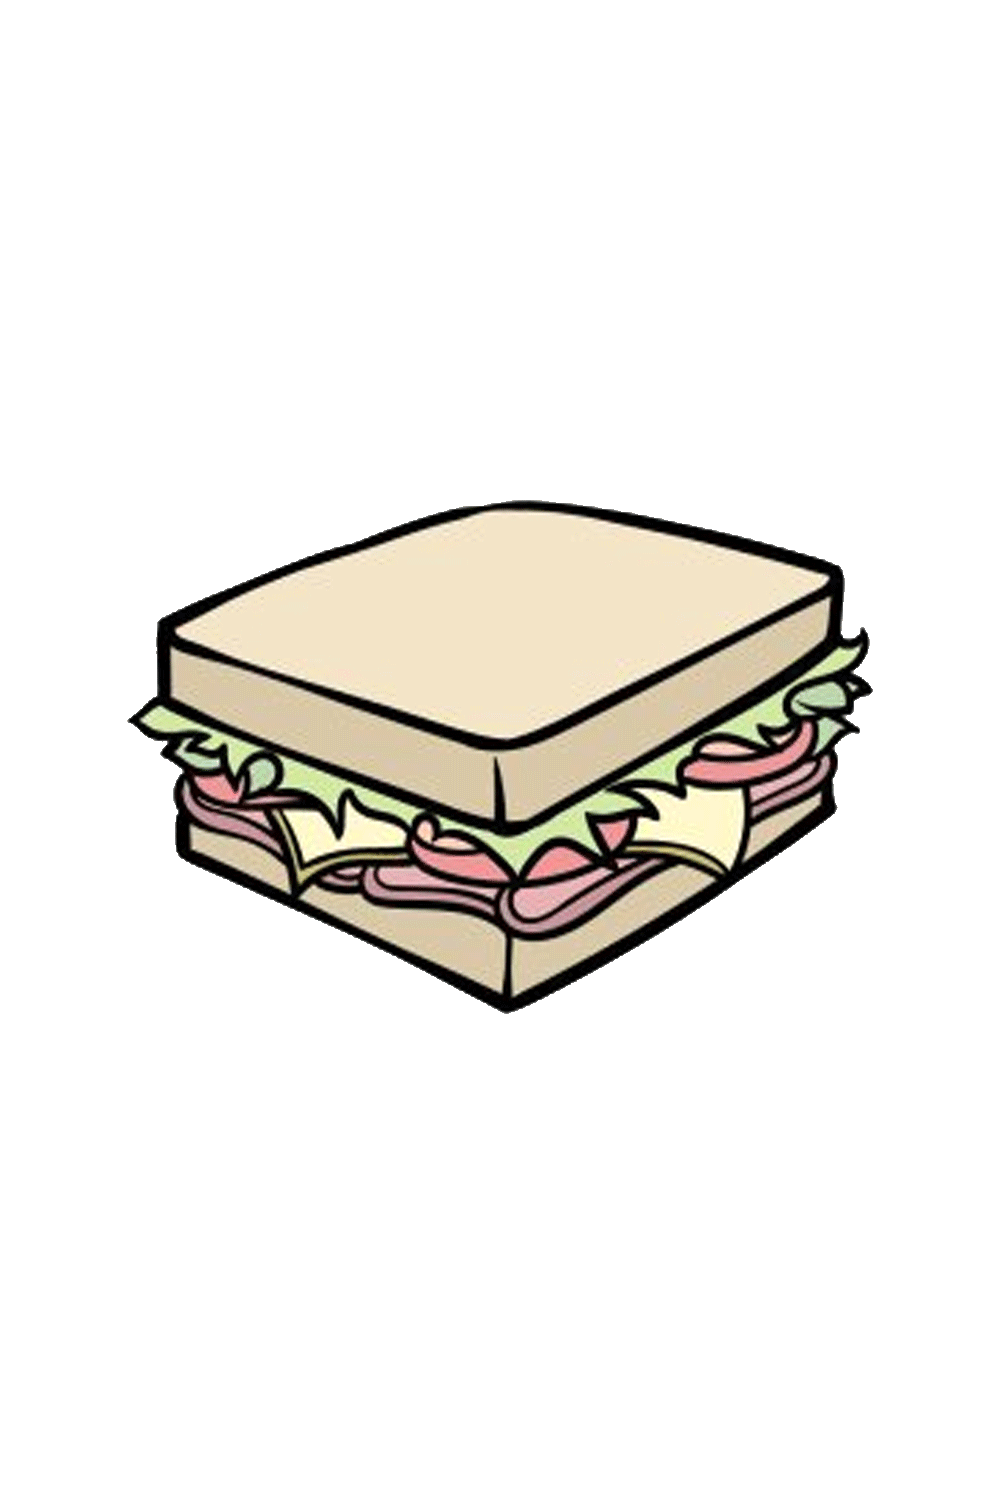
**Sandwich **It would be intriguing to find a kind of food that is more adaptable and varied than a sandwich. On a fundamental level, a sandwich is by and large included two cuts of bread with some kind of filling between, but there are limitless possible results to what that can contain. You don’t briefly try and generally need to use bread, as specific people will attempt to make a sandwich using wafers or something like lettuce. Learn this blog and visit the more latest drawing tutorials like pinkie pie drawing. It will in general be wonderful to devise the best sandwich, and sorting out some way to draw a sandwich is a remarkable strategy for envisioning that. Expecting that you should know how to make your own ideal sandwich, then you’re impeccably found! Our little by little aide on the most capable strategy to draw in a sandwich just 6 basic undertakings will show you how straightforward and fun it will in general be. **Stage 1 - Sandwich Drawing **We will portray a standard delineation of this food as we work through this helper on the most ideal way to draw a sandwich. That truly means that there will be some filling between two standard cuts of bread, but you will moreover get a chance to change a piece of these parts later on! For the present, we will begin with the top cut of bread. Start by drawing a rectangular shape at a point. Then, we will endeavor to give this cut of bread extra significance by characterizing a couple of limits down from it to make the thin side of the bread. This part can be amazingly unstable to get right, so put forth a genuine attempt to rehash the lines as they appear in the reference picture. Exactly when you have this previously cut of bread drawn, we can progress forward toward stage 2! **Stage 2 - Draw the lettuce for the sandwich **Lettuce is a run of the mill component of many sandwiches, so in this second step we will add some to your sandwich drawing. To do this, we will include a couple of twisted lines with sharp places in them all over the base boundary of the bread. This will help with causing it to seem like there are pieces of left lettuce held inside the sandwich. That’s all there is to it this step, and subsequently it will be on to adding a couple of extra fillings in the third step of the helper. **Stage 3 - By and by, draw a more noteworthy measure of the filling for the sandwich **There are various fillings that you will by and large find in many sandwiches, and we will add some in this third step of our helper on the most ideal way to draw a sandwich. The fillings that we will incorporate this part will be a couple of cuts of tomato close by some cheddar. For the tomato cuts, simply characterize a couple of changed limits poking out the side of the sandwich and a while later characterize another twisted limit on the inner line of the tomato outline. For the cheddar, characterize a couple of limits arising to shape a few sharp tips hitting out, and subsequently add some line nuances to them. The reference picture will show you how you can put these parts. Yet feel free to move them around if you wish! **Stage 4 - Next, draw some meat on the sandwich **Meat is moreover very typical on sandwiches, and we will add some to your sandwich drawing in this next part. The meat that we are adding is by all accounts shaved meat or ham, and the pitiful cuts will be imploded into the sandwich. Use a couple of changed, exciting lines under the past fillings to make the conditions of the fell meat cuts. If you would lean toward a vegetarian sandwich, you could add a couple of extra vegetables instead of this meat! Despite what you pick, when you’re set we up can then progress forward toward the last nuances in the accompanying stage. **Stage 5 - Add the last nuances to your sandwich drawing **This step of our helper on the most capable strategy to draw a sandwich will be connected to adding a last nuances to clean it off. This part will moreover permit you the potential chance to re-try your picture, but first we ought to finish the last part. The last thing to add edge be the base cut of bread, and this one will be drawn definitively as you drew the top cut. Whenever you have drawn this ensuing cut, you’ll be ready for the last step! Before you proceed, feel free to change and add any parts that you like. You could draw in an establishment to show what food or beverages you would appreciate with this sandwich, or you could make a fascinating one. Maybe you could design one more sandwich that stands tall from all of the fillings inside it! What could your ideal sandwich look like? **Stage 6 - Finish your sandwich drawing with assortment **In this last step of your sandwich drawing, we will clean it off with some tone. In our reference picture, we kept all of the tones pretty reasonable. We included a light brown for the bread, and a while later we included green for the lettuce, red for the tomatoes and dull pink for the meat. You could reproduce the assortments we used in our image for a more sensible look. Yet you could in like manner use any unique tones you could like! Right when you have closed which colors you will use, the accompanying thing is to finish up which craftsmanship mediums would work best to restore them
___